
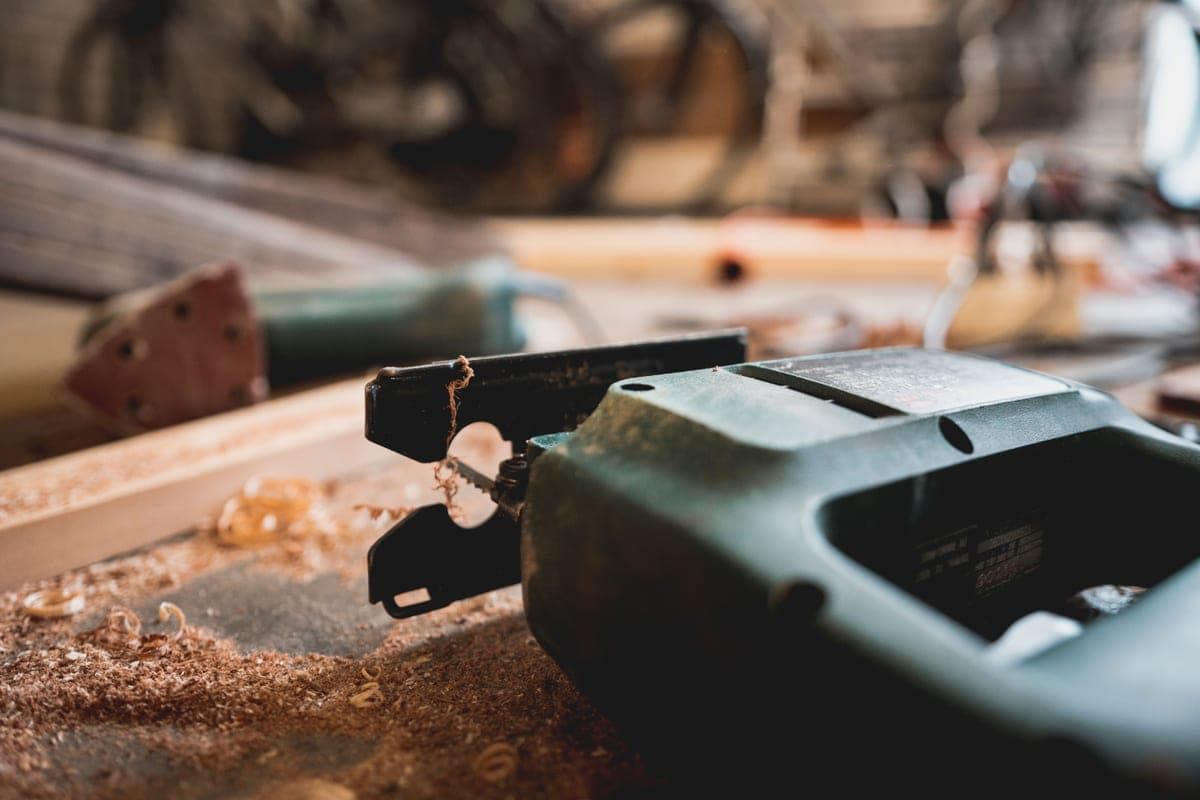
BLACK+DECKER 4V Cordless Screwdriver
Best for driving screws without the wrist ache
A compact cordless screwdriver that speeds up the dozens of screws in a flat-pack without over-driving them.
Guides
Sort the hardware, build it loose, square it up, and anchor it to the wall - the pro sequence.
By Catherine Vizcaino · Home-renovation pro & founder
Updated August 2026
As an Amazon Associate, I Heart My Home earns from qualifying purchases. It never changes your price or our picks. Learn more.
Flat-pack furniture doesn’t fail because the instructions are bad — it fails because of a handful of small habits people skip. I’ve assembled more pieces than I can count on job sites, and almost every wobble, stripped screw, and misaligned drawer traces back to the same avoidable mistakes. Get the sequence right and even a cheap piece comes out square, solid, and safe.
This is the order I actually use: sort the hardware, protect the finish, build it loose, square it up, then tighten — and, most importantly, anchor anything tall to the wall. That last step isn’t optional; furniture tip-overs are a documented safety hazard, and I’ll cover it in full below. If you’re still choosing pieces, start with the best furniture picks, and if you’re working with a tight footprint, the small space solutions guide helps you buy the right size before you build it.
A few tools make all of this easier, and I’ve linked the ones I reach for below — each shows a Check price on Amazon button instead of a price, since those change. None of them are required, but the right screwdriver and a rubber mallet turn a two-hour fight into a smooth afternoon.
Best for driving screws without the wrist ache
A compact cordless screwdriver that speeds up the dozens of screws in a flat-pack without over-driving them.
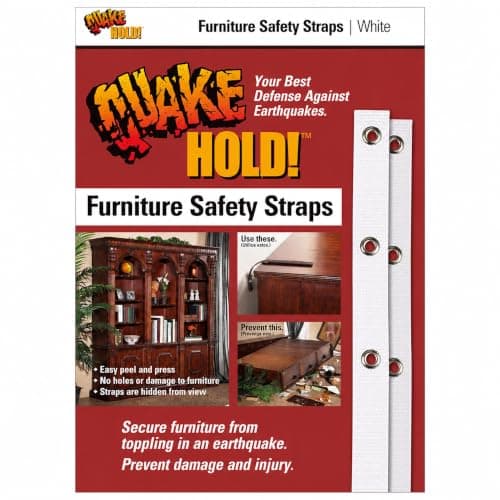
Best for anchoring tall furniture to the wall
Wall-anchor straps that secure dressers, bookcases, and tall units to a stud so they can't tip over.
Best for seating dowels and tight joints
A soft-faced mallet that seats wooden dowels and taps panels together without denting the finish.
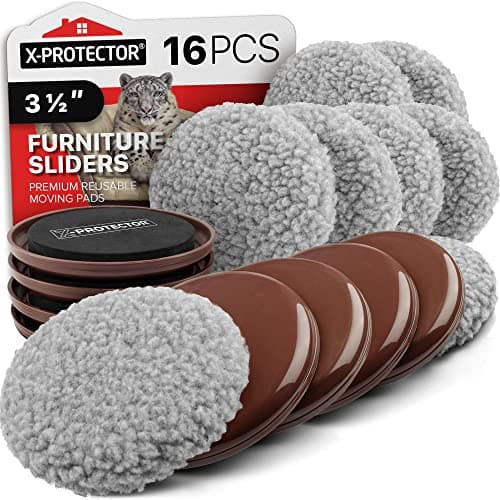
Best for moving the finished piece safely
Reusable sliders that let you move a fully built piece into place without scratching floors or racking the joints.
#ad · disclosure · Price as of September 19, 2026
The five minutes before you pick up a screwdriver decide how the whole job goes. Set yourself up first:
This is the habit that separates a wobbly piece from a solid one: don’t fully tighten anything until the whole frame is together and square. If you torque each joint down as you go, you lock in small misalignments and the last panels won’t line up.
A note on cam locks, the round metal fittings that do most of the joining: the arrow stamped on the cam should point toward the bolt or dowel it grabs, and a cam only needs about a half turn to lock — roughly 180 degrees. Cranking past that doesn’t make it tighter; it strips the cam or crushes the particleboard around it. Seat stubborn dowels with light taps from a rubber mallet, never a metal hammer.
This is the most important paragraph in this guide. Tall furniture — dressers, bookcases, shelving units, and anything a TV sits on — can tip over, and furniture and TV tip-overs are a genuine, documented safety hazard that seriously injures and kills people, most often young children who climb or pull on drawers. It is not a rare freak accident; it’s common enough that there’s a federal safety campaign and a law about it.
Many flat-pack pieces now include an anti-tip strap in the hardware bag — use it. If yours didn’t, a cheap anchor kit covers it. The U.S. Consumer Product Safety Commission’s Anchor It! campaign lays out exactly why and how, and it’s worth a two-minute read before you decide to skip this step. You won’t.
Even done right, flat-pack furniture throws a few predictable problems. Here’s how I handle the usual ones:
And once it’s solid and anchored, move it the last few feet on sliders rather than dragging it — dragging racks the frame and loosens the joints you just tightened.
Tightening everything as they go. Fully torquing each joint before the frame is together locks in small misalignments, so the last panels won’t line up and the piece wobbles. Start every bolt and cam loose, get the whole frame square and sitting flat, and only then tighten gradually and evenly around the piece.
Yes — for anything tall, including dressers, bookcases, shelving, and TV stands. Furniture and TV tip-overs are a genuine, documented hazard that injures and kills people, most often young children who climb or pull on drawers. Anchor every tall piece with anti-tip straps screwed into a wall stud, and don’t skip the heavy ones — weight alone won’t stop a tip-over. The CPSC’s Anchor It! campaign explains exactly how.
Pack the stripped hole with a few wooden toothpicks or a glue-dipped golf tee, snap them off flush, and let the wood glue set. Then drive the screw back in — it bites into the fresh wood and holds like new. It’s the classic fix for particleboard, it costs nothing, and it works far better than most people expect.
A cordless screwdriver is the big one — just ease off at the end so you don’t strip the hole. Add a rubber mallet for seating dowels and tight joints, a bit set, and a stud finder for anchoring. Furniture sliders help you move the finished piece without scratching floors or racking the joints. The included hex key does work, but it’s slow and rough on your hands.
Nearly always because a fastener got tightened too early and locked in a misalignment. Back off the nearby bolts and cams, re-square the whole frame while it’s loose, tap any stubborn dowels home with a rubber mallet, then retighten in stages. Also check the floor is level once it’s in place — an uneven floor makes a perfectly built piece feel wobbly.
Browse the roundups I'd actually hand a client — honest picks, real trade-offs, and the one to buy first.