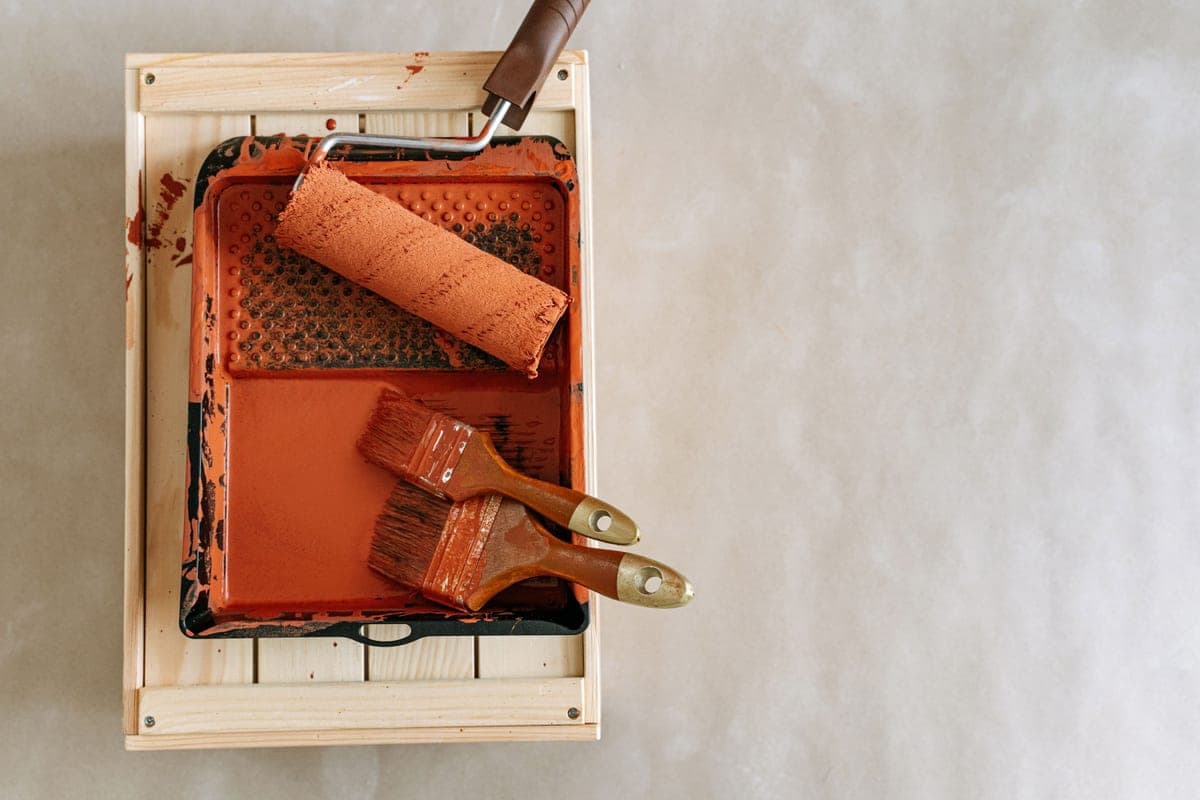
Rust-Oleum Chalked Ultra Matte Paint
Best for no-prep furniture flips
A forgiving chalk-style paint that grips most surfaces with minimal sanding for a soft matte finish.
Guides
The high-impact, low-cost projects I actually recommend - and the ones I'd skip.
By Catherine Vizcaino · Home-renovation pro & founder
Updated August 2026
As an Amazon Associate, I Heart My Home earns from qualifying purchases. It never changes your price or our picks. Learn more.
Most bad DIY home decor ideas fail for the same reason: they look like a project instead of a room. After years of renovating homes for a living, I’ve learned that the difference between a craft-fair mess and a magazine-worthy space usually comes down to a few unglamorous fundamentals — good prep, restraint, and knowing which corners you can cut. The good news is that the projects with the biggest visual payoff are almost always the cheapest and the simplest.
This is my working list of DIY home decor ideas that genuinely look good in a finished home, not just in the before-and-after photo. Every one of them is something I’ve done on a real job or in my own place. I’ll tell you what to buy, where the money actually matters, and where a $12 fix beats a $200 one.
One honesty note: Amazon prices move constantly, so you’ll see a Check price on Amazon button on the supplies below instead of a number I can’t promise. If you want the full room plan behind these projects, pair this with how to decorate on a budget.
Best for no-prep furniture flips
A forgiving chalk-style paint that grips most surfaces with minimal sanding for a soft matte finish.
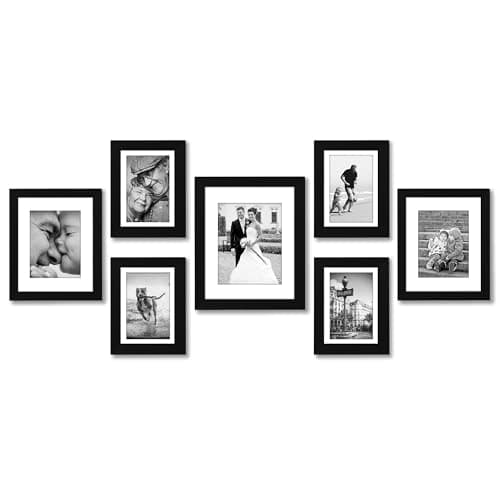
Best for an instant gallery wall
A coordinated mixed-size frame set that takes the guesswork out of building a balanced gallery wall.
#ad · disclosure · Price as of September 19, 2026
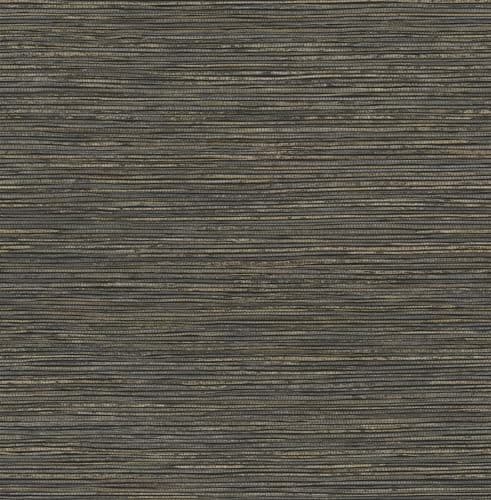
Best for renter-friendly accent walls
Removable wallpaper that adds pattern to an accent wall, back of a bookshelf, or drawer fronts without commitment.
#ad · disclosure · Price as of September 19, 2026
If you only do one thing on this list, paint something. Nothing else changes a room this much for this little money. A quart refreshes a tired dresser; a gallon or two transforms a whole room. The trick is that paint rewards prep and punishes shortcuts — the finish you see is almost entirely a reflection of what you did before the brush touched the surface.
One safety note before you sand anything old: homes built before 1978 can have lead paint, and dry-sanding it spreads hazardous dust. Follow the EPA’s lead-safe guidance if your piece or wall might predate that. For color inspiration and undertone help, the Sherwin-Williams color library is a genuinely useful free resource.
A gallery wall is the classic DIY win because it fills a big blank space with personality for very little money. It goes wrong when it looks random. The fix is to treat it as one composition: pick a unifying thread — consistent frames, a shared color story, or a single mat color — and let the art vary within that.
Free and cheap art is everywhere: thrift-store canvases, printable art, old book plates, even your own phone photos printed large. The frame does more for the “expensive” look than the art inside it.
This is where DIY pays for itself. Solid-wood furniture at thrift stores and estate sales is often better built than anything at the same price new — real joinery, real wood, and dovetailed drawers hiding under a dated finish. Learn to look past the color and check the bones: pull the drawers, wobble the frame, and open every door.
The chalk-style paint in my shop-the-look above is the most beginner-proof starting point. If a piece has heavy grain or a slick factory finish, a bonding primer first will save you a world of adhesion trouble. And once you’ve flipped a few pieces with a brush, the best paint sprayers for furniture is where the finish stops looking painted and starts looking manufactured.
Styling shelves costs nothing and instantly makes a room look designed. Most people fail by lining things up in a row like a store display. Designers do the opposite — they group, they layer, and they leave breathing room.
Shop your own house first. A stack of books turned spine-in, a bowl from the kitchen, or a single trailing plant will carry a shelf better than a cart full of new trinkets.
Textiles are what make a room feel warm and finished, and you don’t need a sewing machine for any of this. Soft layers absorb echo, add color, and cover a lot of budget-furniture sins.
DIY isn’t about buying the cheapest of everything — it’s about spending where quality shows and saving where it doesn’t. After a lot of projects, here’s my rule of thumb:
Ready to turn these projects into a whole-home plan? The decorate-on-a-budget guide lays out the room-by-room order so your DIY effort lands where it counts most.
Paint, hands down. A quart of furniture paint or a gallon of wall color changes a room more than any single purchase, and it usually costs less than one accessory. The second cheapest big win is hanging your curtains high and wide — it makes the whole room feel taller for the price of moving a rod.
Prime when the surface is slick, heavily stained, or a very different color — a bonding primer is what stops future peeling. Sealing is non-negotiable on high-touch pieces like tabletops and dressers; without a wax or clear topcoat, even good paint scuffs and chips within weeks. See the furniture paint guide for the right product per project.
Restraint and finish. A tight color palette, consistent frames, high-hung curtains, layered textiles, and a little breathing room on shelves all read as designed. Crammed surfaces, mismatched finishes, and unsealed paint are what make a project look crafty. Detail work — clean edges, level hanging, new hardware — is what sells the expensive look.
Usually, yes — on a smooth, fully cured painted wall it comes off cleanly. Where it fails is textured walls, glossy trim, and paint that’s less than about a month old; there it lifts at the seams or can pull paint on removal. Test a small, hidden patch before you commit to a whole wall — our peel-and-stick wallpaper picks cover roll widths, the coverage math, and the walls to walk away from.
Start with the low-risk, high-reward projects: paint, gallery walls, shelf styling, and no-sew textiles. Save structural furniture repairs, precise joinery, and refinishing valuable antiques for later — those are where a mistake is expensive or permanent. Learn the fundamentals on a $20 thrift piece before you touch anything you’d be sad to ruin.
Browse the roundups I'd actually hand a client — honest picks, real trade-offs, and the one to buy first.