Command Picture Hanging Strips
Best for renter-friendly, damage-free hanging
Damage-free adhesive strips that hold lighter framed art and level easily, with no nail holes to patch.
Guides
The real numbers - eye-level height, the two-thirds sofa rule, spacing, and the right anchors.
By Catherine Vizcaino · Home-renovation pro & founder
Updated August 2026

As an Amazon Associate, I Heart My Home earns from qualifying purchases. It never changes your price or our picks. Learn more.
The most common decorating mistake I fix isn’t bad art — it’s art hung too high. When a picture floats up near the ceiling, disconnected from the furniture, the whole wall feels off even if nobody can say why. The good news is that hanging art well comes down to a few real numbers, and once you know them you’ll never eyeball it again.
This guide covers the heights and spacing the pros actually use: eye level for a single piece, the two-thirds rule over a sofa, and tight, consistent spacing for a gallery wall. It also walks through the paper-template method so you can plan the whole thing before a single hole goes in the wall. If hanging art is part of a bigger refresh, it pairs naturally with DIY home decor ideas and the best home decor items to fill the walls.
For the hardware and framed sets below, you’ll see a Check price on Amazon button rather than a fixed price, since those move around. And if a mirror is part of the plan, the same height-and-anchor rules apply — see the best wall mirrors for pieces sized to hang.

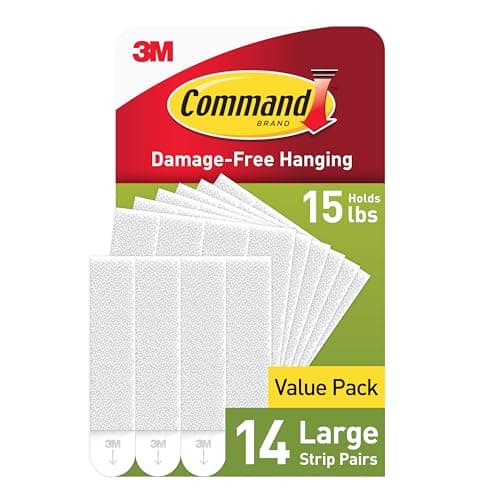
Best for renter-friendly, damage-free hanging
Damage-free adhesive strips that hold lighter framed art and level easily, with no nail holes to patch.

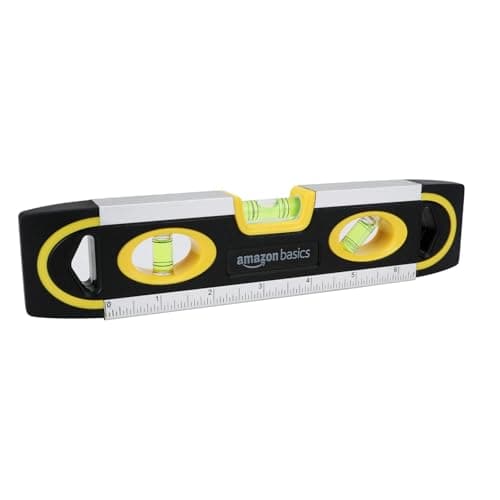
Best for keeping every frame straight
A small, magnetic torpedo level that keeps single frames and whole gallery walls dead straight.

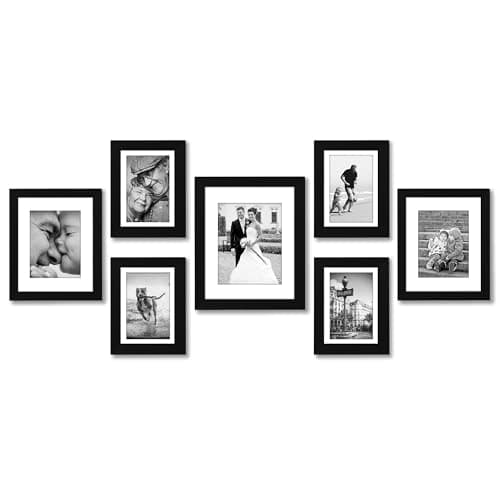
Best for an instant gallery wall
A coordinated mixed-size frame set that gives you a ready-made, balanced gallery-wall layout.

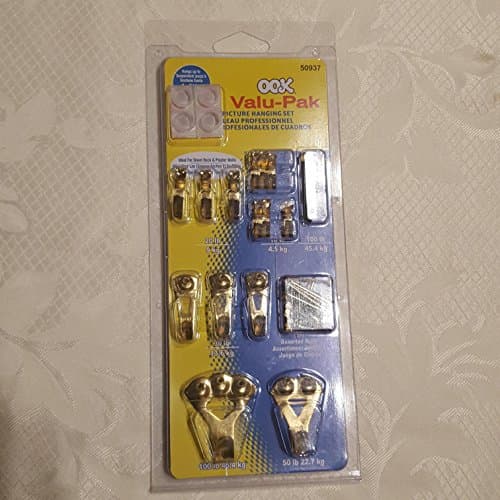
Best for the right hook for each weight
An assorted kit of picture hooks, nails, and hardware rated for a range of frame weights.
The fix for almost every too-high picture is a single number: hang art so its center sits about 57 to 60 inches from the floor. That’s roughly eye level for an average adult, and it’s the standard galleries and museums use so art meets your gaze instead of hovering above it.
To find your nail spot, don’t just measure to the top of the frame. Do this instead:
The reason the wire step matters: a taut wire always pulls the frame lower than the hook, so measuring to the hook without accounting for it hangs everything a couple of inches high.
When art hangs over furniture, it should relate to the furniture, not the whole wall. Two numbers keep it looking intentional:
For a grouping instead of one big piece, treat the whole cluster as a single rectangle and apply the same two rules to its outer edges. When you’re hanging over furniture, this over-the-sofa placement takes priority over the strict 57-to-60 rule — the relationship to the sofa is what your eye reads first.
A gallery wall goes wrong when it looks random and right when it reads as one shape. Two habits get you there: consistent spacing and planning on paper before you drill.
The paper method is the step that saves you from a wall full of extra nail holes. You do all your rearranging with tape instead of a hammer, and every hole you make is one you meant to.
Art falls for one reason: the hardware wasn’t rated for the weight. Match the hanger to how heavy the piece is and to what’s behind the drywall.
Whatever you use, read the weight number on the package and give yourself a margin. A hook rated right at the frame’s weight is a hook that fails the first time someone bumps the wall.
Hang it so the center of the piece sits about 57 to 60 inches from the floor — roughly eye level, and the standard galleries and museums use. To find the exact nail spot, take your center height, add the top half of the frame, then subtract the distance from the top of the frame down to the taut wire. That accounts for the wire dropping the frame lower than the hook.
Aim for a piece or grouping that spans about two-thirds to three-quarters of the sofa’s width, hung so the bottom of the frame is 6 to 10 inches above the top of the sofa. Narrower than that and it looks like a postage stamp; a bigger gap and it drifts away from the furniture. Over a sofa, this rule takes priority over the strict eye-level number.
Keep a consistent 2 to 3 inches between frames. Tight, even spacing is what makes the wall read as one composition instead of scattered pieces. Choose a single gap — 2.5 inches is a good default — and hold it between every frame, top to bottom and side to side.
For anything heavy, hang from a stud if you can — it’s the strongest point on the wall, so find one with a stud finder. On bare drywall, use toggle (molly) bolts rated well above the piece’s weight, and give a heavy mirror two anchor points instead of one. A bare nail in drywall is never enough for a heavy frame or mirror. When in doubt, see the best wall mirrors for sizes and how they’re meant to hang.
Plan it on paper first. Trace each frame onto kraft paper or newsprint, cut out the shapes, and tape them to the wall with painter’s tape. Shuffle the paper cutouts until the layout is balanced, mark each hanging point right through the paper, drive your hardware, then tear the paper off. You do all the rearranging with tape, so every hole you actually make is one you meant to.
Browse the roundups I'd actually hand a client — honest picks, real trade-offs, and the one to buy first.